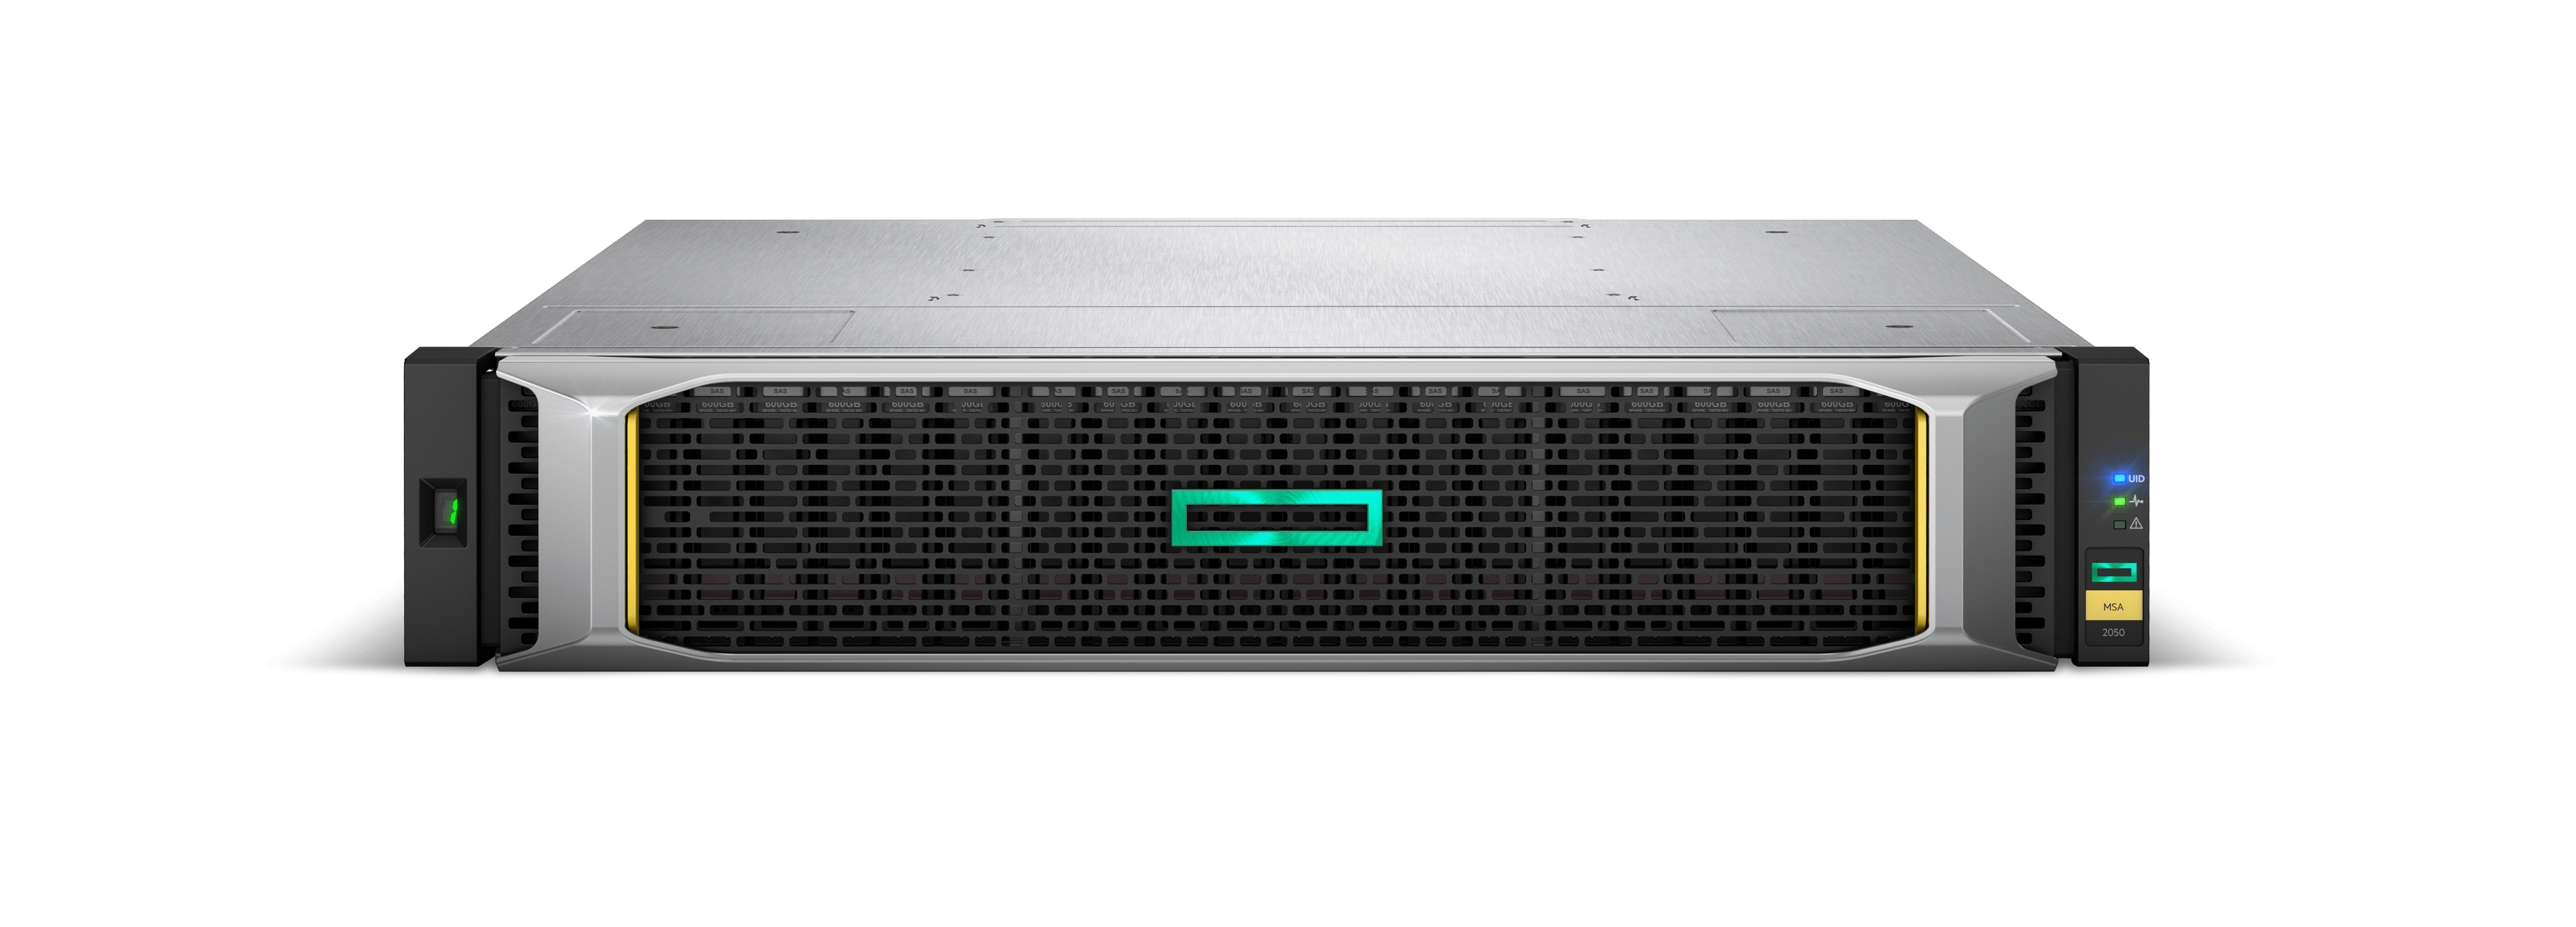
HPE’s entry-level MSA storage arrays are shipped with a self-signed certificate from HPE. A lot of storage administrators ignore the web warnings and leave the configuration unchanged. Instead, it is highly recommended to install a SSL Certificate on your array.
Before we continue with the installation steps, take note of the following:
- If your MSA is running firmware IN210R004 or more recent, there’s an updated procedure on HPE MSA – Implementing SSL Web Certificates
- The installation can be done online without interruption of host IO’s but a restart of the management controllers is required at the final step.
- To deal with certificates I use OpenSSL tool for Windows.
- The FTP protocol is by default disabled on new MSA arrays. You need to enable it using the web interface, or using the following command:
show protocols
set protocols ftp enabled
If you are familiar with certificates, jump below to Commands Used
Requesting a MSA SSL Certificate
First of all, gather the needed information about your storage array, i.g. the Fully Qualified Domain Name (FQDN), your organization name etc and request your Certificate Authority owner to provide you with a certificate. Microsoft Windows CA will provide you with a .PFX file which is contains a variety of cryptographic information, including certificate(s), certificate chains, root authority and private keys.
Extract the (.pfx) certificate
In order to implement such a certificate in your MSA array, you will need to extract it in 2 separate files, one containing the certificate itself and the other containing the private keys.
- We will start by extracting the private keys first. Use the following command to extract the private key file:
openssl pkcs12 -in <.pfx file path location> -nocerts -out <key-file-name.key>
– Enter the Import Password, received by your CA Manager.
– Choose a PEM pass phrase, or a password to secure your Private Key file - The array doesn’t accept protected Private Key files, use the following command to remove the passphrase you created on step 1.
openssl rsa -in <keyfile.key> -out <keyfile-decrypted.key>
Now you have a supported private key file.
- Next step is to extract the certificate from the .PFX file. Use the following command to extract it:
openssl pkcs12 -in <.pfx file path location> -clcerts -nokeys -out <certificate-file.crt>
The newly created file is now called certificate-file.crt
Append Intermediate and Root certificate
In this step, you’ll need to edit the .crt certificate file you created in the previous step and add the intermediate and or the root certificate together. This is required by the array to communicate with the certificate chain implemented in your company.
The certificate file structure should look like this:
—–BEGIN CERTIFICATE—–
Array’s certificate (the content of the file you created during the previous step)
—–END CERTIFICATE—–
—–BEGIN CERTIFICATE—–
The intermediate certificate chain (If your company uses one)
—–END CERTIFICATE—–
—–BEGIN CERTIFICATE—–
The ROOT CA certificate
—–END CERTIFICATE—–
Once you have merged the certificates, use a distinctive name for your new file and save it.
Installation of the MSA SSL Certificate
To install the certificate to your MSA array you’ll need to connect through FTP.
- Open an elevated command prompt and navigate to the directory where you certificate (.crt file) and private key file reside.
- Type FTP > Open
- Enter array’s IP address or DNS alias
- Upload the certificate using the following command
put <certificate file name.crt> cert-file
- Next, upload the private key file using the following command
put <key file.key> cert-key-file
- Finally, restart the management controller of your MSA and your browser should be reporting a valid SSL certificate.
Commands used
OpenSSL
Extract certificate’s private key:
openssl pkcs12 -in <.pfx file path location> -nocerts -out <key-file-name.key>
Decrypt private key file
openssl rsa -in <keyfile.key> -out <keyfile-decrypted.key>
Extract certificate file
openssl pkcs12 -in <.pfx file path location> -clcerts -nokeys -out <certificate-file.crt>
FTP
Upload the certificate
put <certificate file name.crt> cert-file
Upload the certificate file
put <key file.key> cert-key-file
Any suggestion or question? Leave a reply below, or feel free to contact us. Make sure to subscribe to our mailing list to get the latest.


9 Responses
Thanks for a cool blog post. i noticed when i tried it that my msa did not change presented certificates after following your instructions. i did notice that my .crt file had a lot of preamble text before the first —-begin certificate—- line. should that matter?
Hi Alex, thanks the feedback.
Did you reboot the management controller after installing the certificate?
You can remove the preamble text before —being certificate— and after — end certificate—
Let me know if this helps.
Cheers, Dardan
hoW TO GENRATE csr FILE FROM STORAGE TO SHARE THATA FILE WITH ca AUTHORITIES TEAM
Hi, thanks for reading my blog.
There’s no option on MSA to generate the CSR file natively, however your CA administrator will be able to provide you an already signed PFX certificate.
Additionally, if you have OpenSSL installed, you could maybe try and create the CSR file for your MSA array, then let the cert be signed – not sure if this will work. Let me know if you get to try this.
Cheers,
Dardan
SoRRY in advancE: DON’T KNOW WHY THE REPLY IS IN CAPITALS?? TRIED PASTING FROM a textfile, but it still forces all letters to capital ones
Hi all,
Is there any way to do this WITHOUT enabling FTP?
We’re using LDAP verification which does NOT allow FTP being enabled. So I’m looking for a way to put the certificate chain and the key file on the MSA with using FTP.
Already tried PuTTY’s PSCP, but that errors out with ‘FATAL ERROR: Received unexpected end-of-file from server’:
pscp cert-chain.crt manage@msasystem:cert-file
Regards,
Martien
Hi,
When transfering the cert-file with FTP to the Hpe MSA Array, I get “Connection timed out”.
In fact, the root partition on the HPe MSA Array OS is write protected…How to give the write rights on it? Muy local account is well configured; Manage/Standard/Monitor, with interfaces activated: WBI, CLI, FTP.
Thank you
Hi,
It seems like the procedure has changed with the latest MSA firmware.
Now you first need to create a CSR, have it signed by your CA authority then install it on your MSA.
Will create a manual soon.
Dardan
Hi, hereby the updated procedure: https://www.storcom.com/hpe-msa-implementing-ssl-web-certificates/
Hope this helps.
Dardan
Hi, issue fixed, the controller needed to be rebooted once before copiying the files.